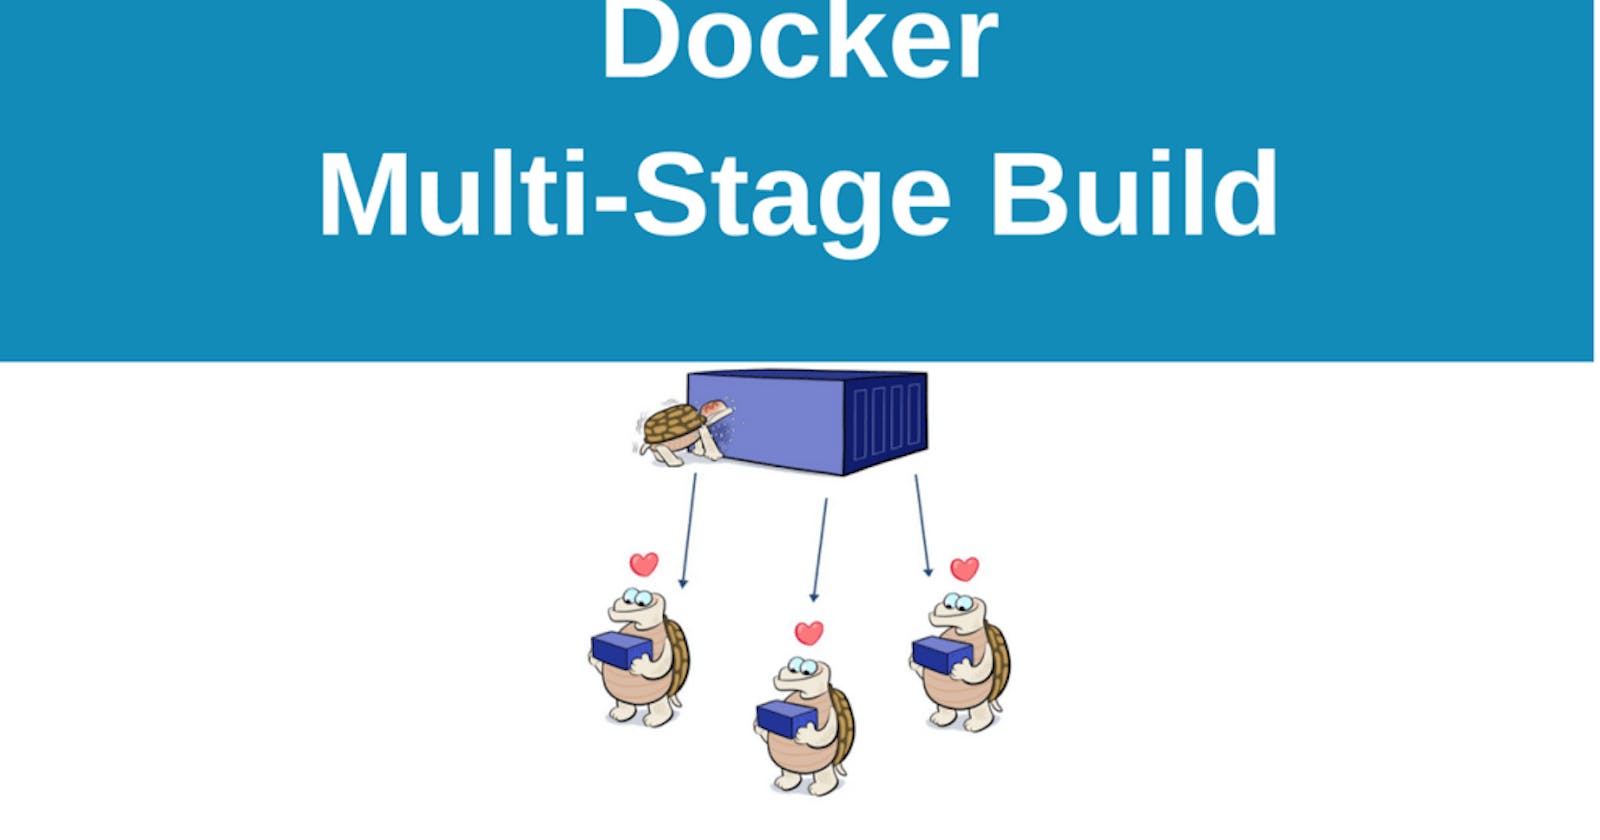
A multi-stage Dockerfile is a feature introduced in Docker to optimize the size of the final Docker image by using multiple build stages. It helps reduce the size of the resulting image by allowing you to discard unnecessary files and dependencies from the final image, which might have been needed during the build process but are not required for the runtime. This is particularly useful when building applications that have multiple dependencies or require build tools.
Here's an example of a simple multi-stage Dockerfile :
# Build Stage
FROM node:14 as builder

WORKDIR /app

COPY package*.json ./
RUN npm install

COPY . .
RUN npm run build

# Final Stage
FROM nginx:alpine

COPY --from=builder /app/dist /usr/share/nginx/html

EXPOSE 80

CMD ["nginx", "-g", "daemon off;"]
In this example, there are two stages :
Build Stage (
FROM node:14 as builder):Sets up a build environment using the Node.js base image.
Copies the
package.jsonandpackage-lock.jsonfiles, installs dependencies, and then copies the application code.Runs the build process (e.g., compilation).
Final Stage (
FROM nginx:alpine):Uses a lightweight Nginx image as the final image.
Copies only the necessary artifacts (e.g., the compiled output from the build stage) from the previous stage using
COPY --from=builder.Exposes port 80 and sets the default command to start the Nginx server.
Key benefits of using a multi-stage Dockerfile :
Reduced Image Size:
- The final image only contains the necessary files and dependencies, resulting in a smaller image size.
Improved Security:
- Unnecessary build dependencies and tools are not included in the final image, reducing the attack surface.
Cleaner Images:
- The final image only contains the runtime artifacts, making it easier to manage and distribute.
To build the Docker image using this multi-stage Dockerfile, you can run :
docker build -t myapp .
This example is for a Node.js application, but the concept of multi-stage builds can be applied to other types of applications and programming languages as well.
This Dockerfile demonstrates the use of multi-stage builds to build a Java web application using Maven and then deploy it to an Apache Tomcat server. Let's break down each stage:
Stage-1: Build :
# Use Maven as the base image
FROM maven as maven

# Create a directory and set it as the working directory
RUN mkdir /usr/src/mymaven
WORKDIR /usr/src/mymaven

# Copy the entire application to the working directory
COPY . .

# Build the application using Maven (skip tests for faster build)
RUN mvn install -DskipTests
FROM maven as maven: Specifies the Maven base image for the build stage.RUN mkdir /usr/src/mymaven: Creates a directory for the Maven build in the container.WORKDIR /usr/src/mymaven: Sets the working directory to the Maven build directory.COPY . .: Copies the contents of the local directory (where the Dockerfile is located) to the container's working directory.RUN mvn install -DskipTests: Runs the Maven build, installing dependencies and building the application. The-DskipTestsflag skips running tests during the build.
Stage-2: Deploy :
# Use Tomcat as the base image for the deployment stage
FROM tomcat

# Set the working directory to Tomcat's webapps directory
WORKDIR /usr/local/tomcat/webapps

# Copy the built WAR file from the Maven build stage to Tomcat's webapps directory
COPY --from=maven /usr/src/mymaven/target/java-tomcat-maven-example.war .

# Remove the existing ROOT directory in Tomcat and rename the WAR file to ROOT.war
RUN rm -rf ROOT && mv java-tomcat-maven-example.war ROOT.war
FROM tomcat: Specifies the Tomcat base image for the deployment stage.WORKDIR /usr/local/tomcat/webapps: Sets the working directory to Tomcat's webapps directory.COPY --from=maven /usr/src/mymaven/target/java-tomcat-maven-example.war .: Copies the WAR file generated in the Maven build stage to Tomcat's webapps directory.RUN rm -rf ROOT && mv java-tomcat-maven-example.war ROOT.war: Removes the existingROOTdirectory in Tomcat (the default web application) and renames the WAR file toROOT.war. This effectively deploys the application as the default web application in Tomcat.
In summary, this Dockerfile uses two stages: the first for building the Java web application with Maven, and the second for deploying the built WAR file to an Apache Tomcat server. This approach optimizes the final image size by excluding build dependencies and artifacts not needed for runtime.
